Distance Sensing using the Arduino and HC-SR04 Ultrasonic Sensor
By Aditya
/
August 13, 2019
In this tutorial, we will see how to use the Arduino along with and HC-SR04 ultrasonic sensor for distance measurement and log the measured distance on the Serial Monitor. This can be used in a variety of projects, such as a parking sensor, burglar alarm, automatic door and obstacle avoiding robots. We will see the code for using an ultrasonic sensor and its circuit with the Arduino. Let's get started!
How does a distance sensor work?
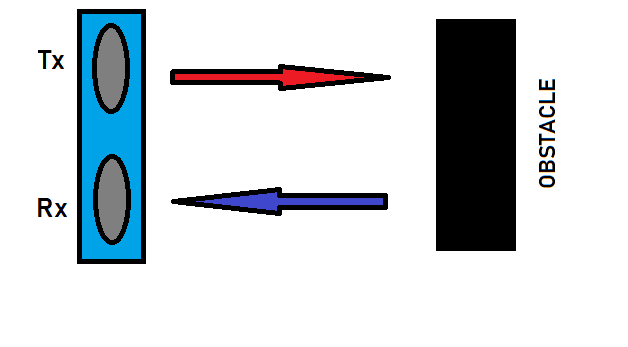
An HC-SR04 is a SONAR sensor (SOund NAvigation and Ranging, click hereto know more) that uses ultrasonic sound waves of a known frequency to measure distance. It achieves this by producing a directional pulse of sound from the transmitter that starts traveling forward. When this sound reaches an object, it bounces back and reaches the receiver. The time taken for this to happen is recorder by the Arduino, which then uses it calculate the distance (since the speed of sound is known). This is similar to how a bat or a submarine measures distance/observes its surroundings. Shown below is a diagram that represents this process.
Apart from SONAR sensors (that use sound), distance measurement is also done using light (LIDAR) and radio waves (RADAR). While these are faster and more precise, they require far more expensive controllers. They may also not work in might also not work in all light conditions (most IR sensors face some degree of trouble under sunlight). To read more about different types of distance sensors and which one is right for your project, click here.
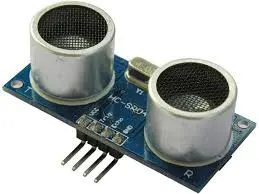
Even within ultrasonic sensors, there are various types of sensors available, but the HC-SR04 stands out because of its form factor, simple interface and low cost. To operate it, a ten microsecond HIGH pulse is sent to the trigger pin (labelled trigg). A timer then starts to measure the amount of time it takes for the echo pin (labelled echo) to produce a HIGH pulse. Since the speed of sound is known, the distance can be calculated using this time interval.
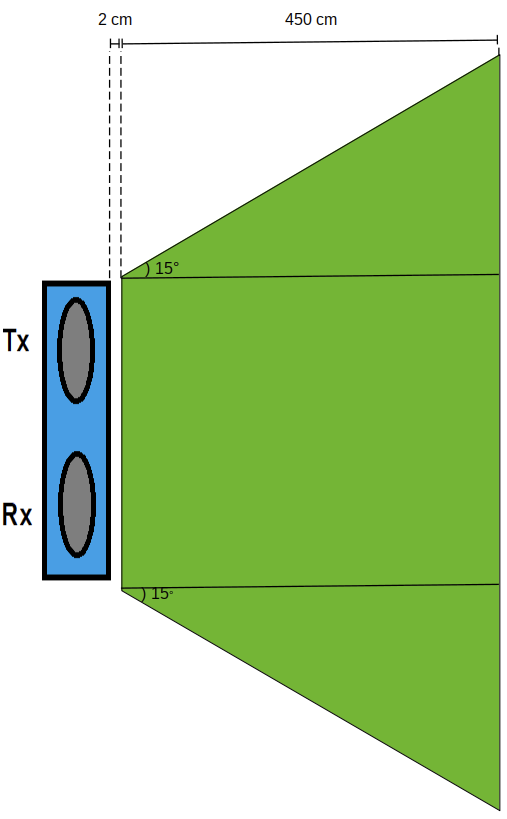
The sensor has a Field of View of 30 degrees (15 degrees on either side) and an operating range of 2 to 450 cm, which is shown below.
Let us now see how to connect it to the Arduino and write an example program to measure distance.
Required parts for distance sensing
In order to complete this project, you will need the following parts.
- Arduino UNO or equivalent (with programming cable)
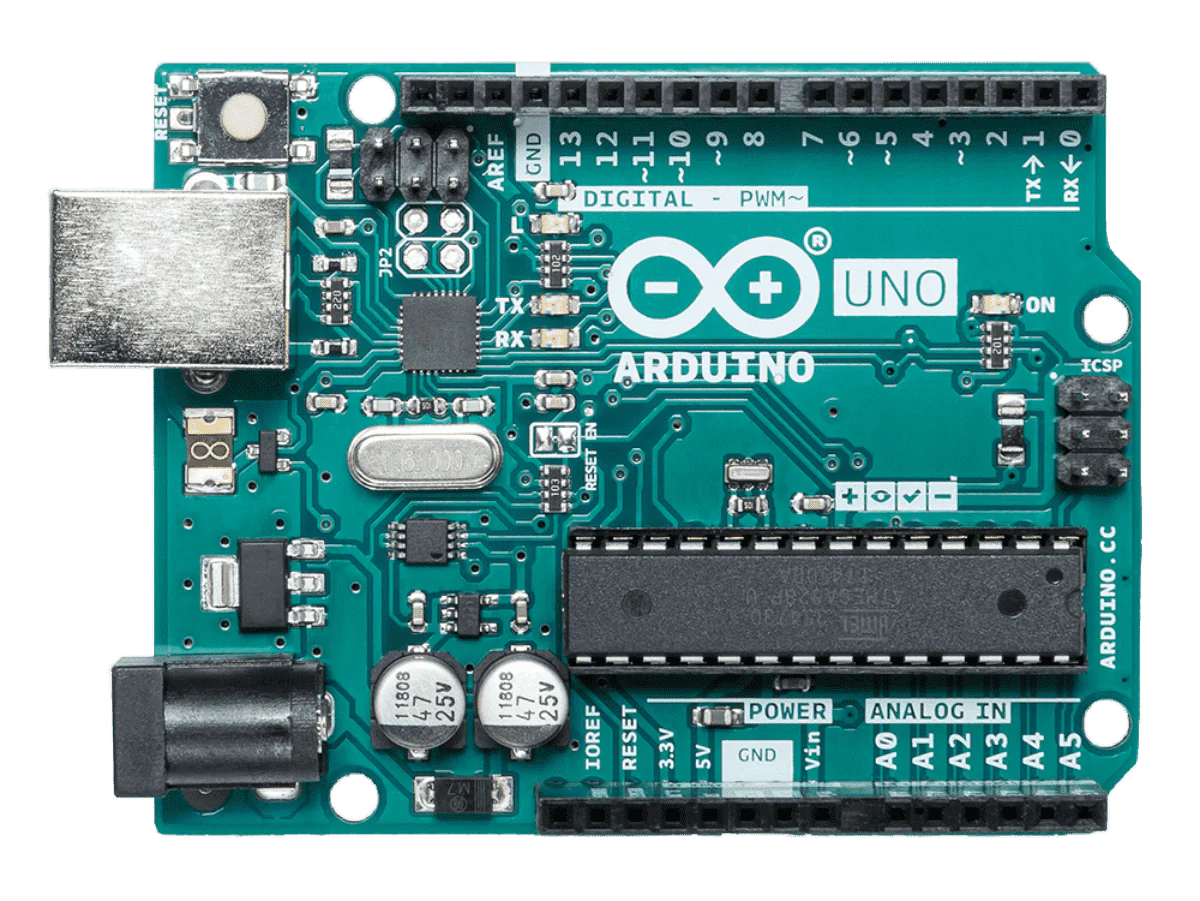
Arduino UNO 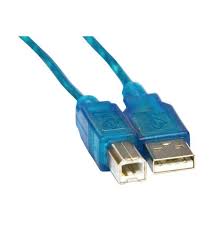
USB cable - HC-SR04 sensor
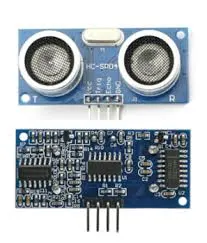
HCSR04 sensor - Breadboard
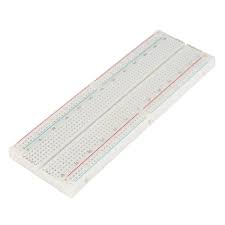
Breadboard - Connecting wires
Jumper wires
Building the circuit with Arduino and HCS-SR04
In this step, we will see how to connect the HC-SR04 to the Arduino. Start by connecting the VCC and GND on the sensor to 5v and GND on the Arduino. Then connect the trigger and echo pins of the sensor to digital pins 5 and 4 on the Arduino. Any other digital pins can be used, just make sure to substitute them in the code. The connections are shown below.
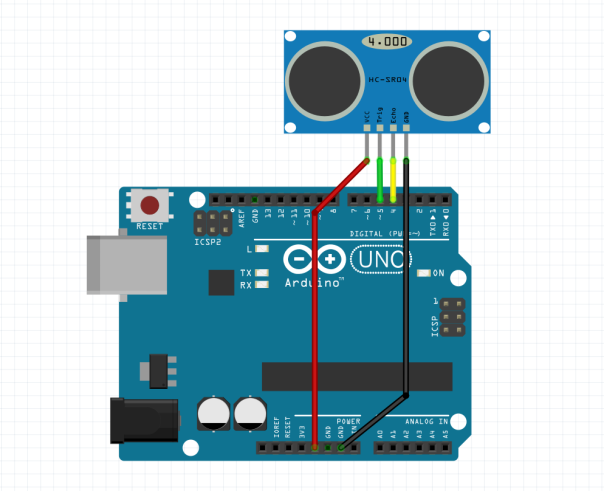
This completes the circuit. We can now move on to programming the Arduino.
Writing the HC-SR04 example program
In this step, we will see how to program the Arduino to control the HC-SR04. If you are not familiar/comfortable with the Arduino IDE,click here to see a quick guide.
Start by defining the trigger and echo pin as shown below.
Next, set the pin modes of the trigger and echo pins, and initializing the Serial Interface in the setup function. If you are not familiar with the Serial monitor, click here.
Finally, in the loop, create a 10 microsecond HIGH pulse on the trigger. To measure the time taken for the pulse to return, we will use the pulseIn function that is built into the Arduino Language. This takes a pin to wait on (in our case, the echo pin), the state to wait for (in our case, HIGH) and returns the number of microseconds before the pin reaches the desired state. Assuming the speed of sound to be 34,000 centimeters per second, we can multiple this by 0.034 to get the two-way distance in cm. We can further divide this by 2 to get the one-way distance.
Note that in the above code, I have divided the duration by 29 instead of multiplying it by 0.034. These operations are the same. The completed code should look as follows.
You can verify and upload this to your Arduino and open the Serial Monitor once this is done to see the measured distance. To verify this, you can keep a ruler in front of the sensor (with the 0 mark right below the sensor) and keep an object at known distances and seeing the output. You can move the object forward and backward and see the distance change as well.